
![]()
I am very comfortable in admitting what I’m good at. I am super patient with my kids. I am really creative with words. I can type super fast. I am so pro at organization and filing systems. I am also comfortable in telling you that I am ridiculously awful at even the smallest of household repairs. I have caused disproportionate amounts of damage in my attempts to complete the most minute of chores: hanging pictures, building IKEA furniture, installing a new shower head. I told Jen at Spray Pal that I was determined to install my diaper sprayer without my husband’s help and without causing any kind of damage. My husband was sincerely concerned I would flood the house. Jen told me that I was guaranteed to succeed, which just goes to show that my Facebook friends don’t really know me.
At first, my husband and I agreed I would install the sprayer, but that he would supervise, promising not to intervene unless he saw me about to flood the house. Then I realized that the stress of his eyes would make me more prone to making a mistake. I had Little Miss Cub strapped to my chest when I put on my plumber pants while Papa and Cub were out for the afternoon.
So first off, as it says on the box, you really don’t need plumber pants or tools to install your sprayer. Not needing tools is a big advantage for me. When my husband asks me to pass him a tool, and I hand him the wrong thing, I think he assumes something got lost in translation. Nope. I barely know a ratchet from a wrench in English or French.
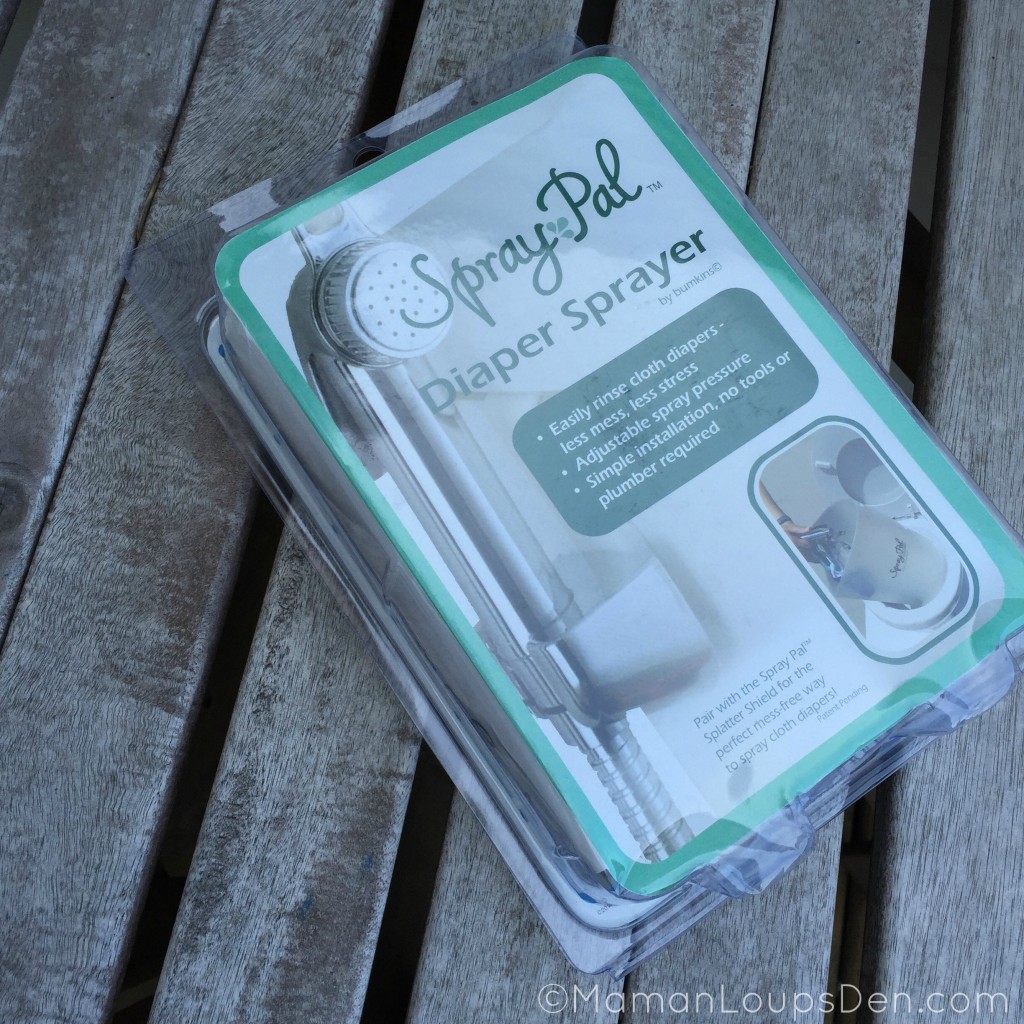
Here’s what you find when you open up your Spray Pal Diaper Sprayer:

Ultimately, here’s what you need to know: There’s a water source supplying your toilet, either coming out of the floor or out of the wall. I installed the sprayer in our basement, where the water pipe is coming from the wall. That pipe feeds fresh water into your toilet tank when you flush. (If you are rolling your eyes, saying, “Duh,” right now, I’m sorry, but had never thought about this before.) To install your sprayer, the first thing you want to do is turn off the water source (just like turning off a tap), then you want to empty your toilet tank by flushing, since you’re about to unscrew the water pipe that leads to the tank, and you don’t want to flood your bathroom. Then, you just want to add a connection to divert the clean water in the toilet supply line to your sprayer as needed. It’s like when you’re playing trains, and you use the “Y” shaped piece to branch off your track!


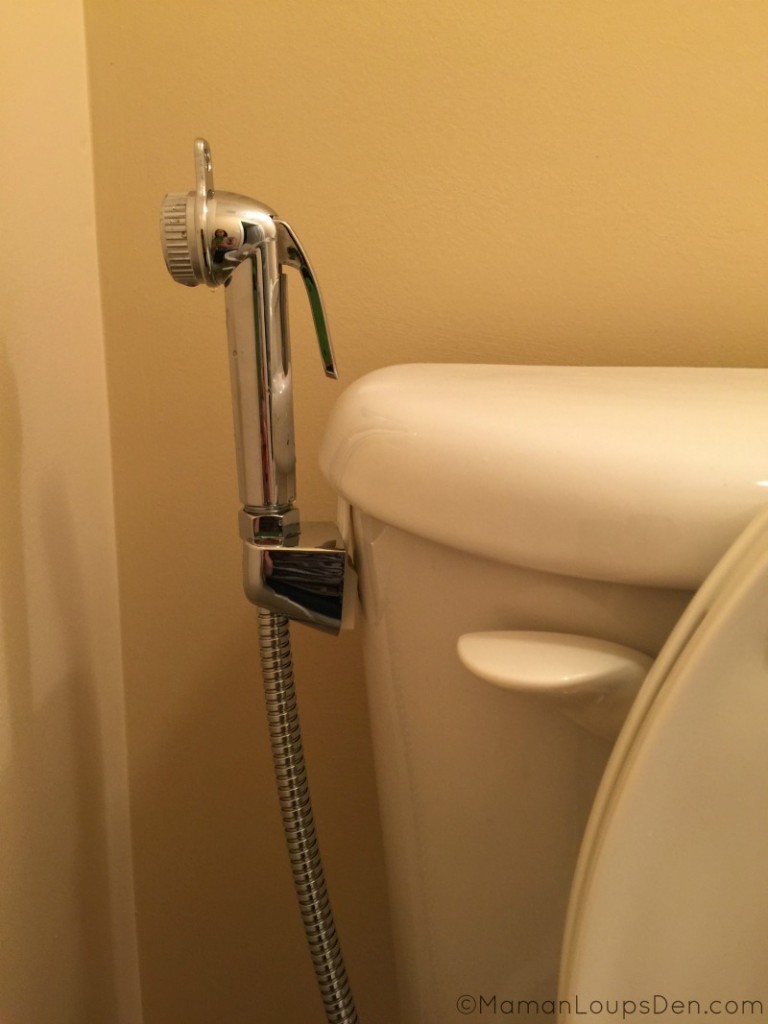
Aside from having to recite “Lefty Loosey, Righty Tighty” in my head when unscrewing and attaching the connections, I was able to install my Spray Pal Diaper Sprayer without incident—even with a baby strapped to my chest! In our upstairs bathroom, the toilet supply line comes out of the floor. In our case, the pipe was too rigid to bend it enough in order to accommodate the connector and reattach the line, which is why I installed in the basement, where the toilet supply line tube is coming out of the wall and is a flexible pipe. The Spray Pal sprayer nozzle clips onto the side of the toilet tank, so it’s not in the way.
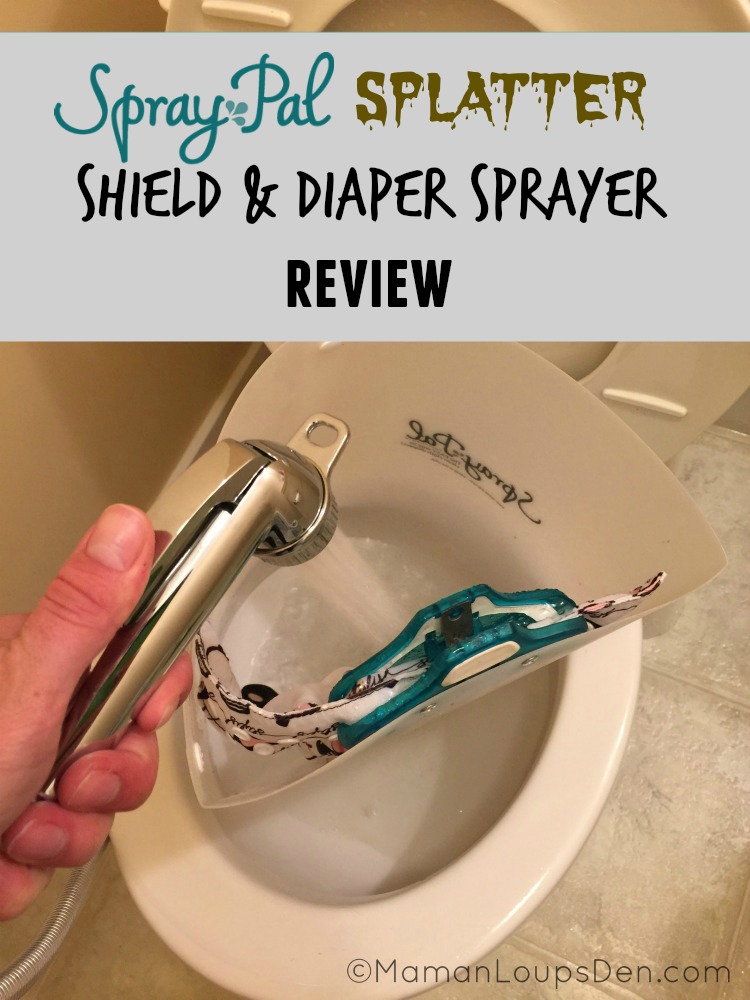
When Cub was a baby, I reviewed the Spray Pal Splatter Shield, which I used with the shower attachment from our bath. I wanted to try a sprayer this time, since in our new house, no shower attachment reaches a toilet. There is no way I would ever apply any kind of water pressure to a poopy diaper without a Spray Pal. Clip the soiled diaper in (if it’s a pocket diaper, remove the inserts first) and snap the Spray Pal together so it forms a force field of poop-protection for you and your bathroom fixtures.
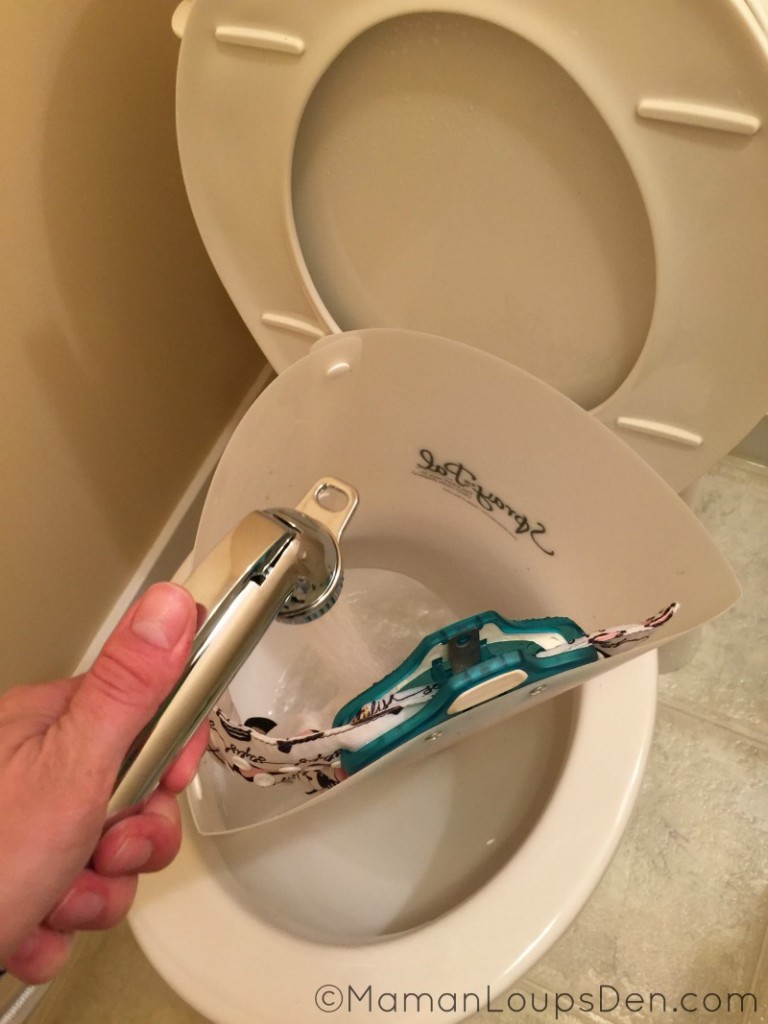
Unsnap the Spray Pal and fold it flat, allowing you to squeeze the excess water out of the diaper. Then, carry the diaper to your diaper pail and drop it in! I store our Spray Pal in a wet bag that hangs off the toilet paper holder.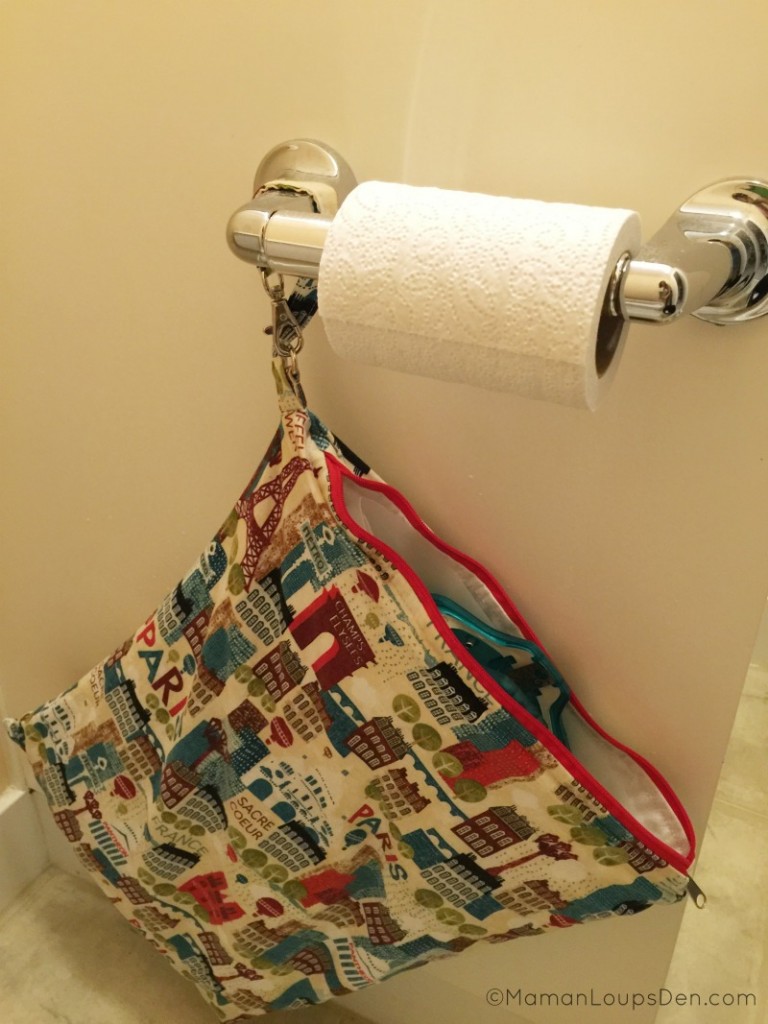
We are at the peanut butter poop phase: post exclusive breastmilk, but pre-significant-amounts of solid food. This is the messy stuff. The “ploppable” poop phase seems so far off! These are the diapers that I attempted to dunk and swish (wearing specially designated rubber glove) when I went through it with Cub. When I did eventually get a Spray Pal, and used it with the shower head, the water pressure left much to be desired, since you want a small stream of high pressure water to get the poop off. The pressure from our diaper sprayer gets the critical mass off the diaper quickly and efficiently, and with the Spray Pal, poop is not peppered all over the bathroom. Now of course, poop gets on the Spray Pal. In the best of situations, you are able to clip the diaper at the front, and the clip isn’t coming into contact with any yucky stuff. Before snapping it shut, I tend to spray the inside of the Spray Pal down a bit. But really, it’s going to get poop on it tomorrow, so into the wetbag it goes, even if it’s not pristine. I’d rather have a couple flecks of poop on my Spray Pal than on my bathroom wall.
Having well-sprayed diapers makes cloth diaper laundry a treat! There’s nothing quite so disgusting as finding undigested chunks of food in your washing machine, and the less solid matter that makes it into your diaper wash water, the better. I’ll report back on how often I find I’m using the sprayer as Little Miss gets older and things start solidifying!
Shop & Connect
The Spray Pal Splatter Shield and Sprayer are available as a bundle or individually at your favourite cloth diaper retailer!
Shop Spray Pal via my affiliate links: The Baby Footprint|| Lagoon Baby


Leave a Reply